

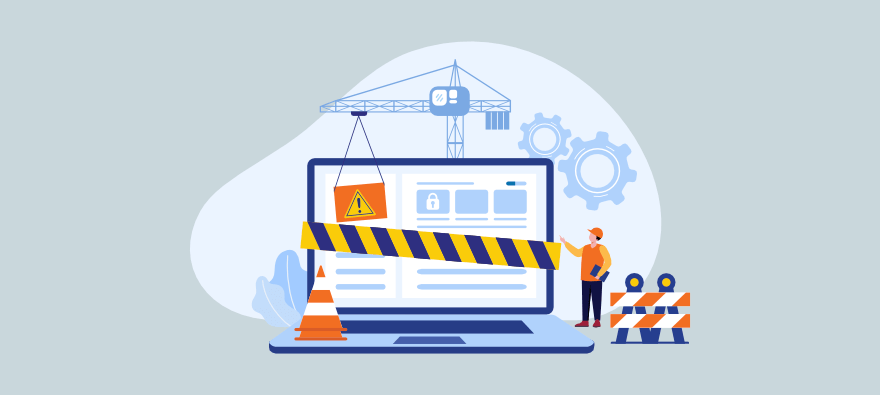
If your WordPress website has been infected by malware, don’t panic! With the right tools and steps, you can identify and remove malicious software, restore your website, and strengthen its defenses against future attacks. In this blog, we’ll guide you through the process of removing malware and restoring your website’s security.
Signs Your WordPress Site Might Be Infected
The first step in dealing with malware is recognizing it. Here are common signs of infection:
- Unexpected redirects to other websites.
- Unusual pop-ups, ads, or spam messages.
- A warning message from your browser or search engine about malware.
- Unusual slowdowns or errors across your website.
- Altered content or strange new users in your WordPress admin.
If you notice any of these signs, it’s time to take action. Here’s a step-by-step guide on how to clean up your WordPress website and get it back to normal.
Step 1: Back Up Your Website
Before making any changes, create a complete backup of your website, including all files and the database. This will allow you to restore your site if anything goes wrong during the cleanup process. Most hosting providers offer a backup feature, but you can also use plugins like UpdraftPlus or BackWPup or All in One WP Migration
Step 2: Enable Maintenance Mode
When removing malware, it’s a good idea to put your site in maintenance mode to prevent users from accessing the site while you’re making changes. Plugins like WP Maintenance Mode can help you do this quickly.
Step 3: Run a Malware Scan
Use a trusted security plugin to scan your website for malware. Some popular plugins for this purpose include:
- Wordfence: Offers a comprehensive scan and highlights malicious files.
- Sucuri Security: Provides a detailed scan and also offers a firewall for real-time protection.
- MalCare: Has an advanced scanning engine specifically for WordPress.
These plugins will detect malware in your files and database and provide a report detailing infected files.
Step 4: Delete Suspicious Files and Fix Core Files
After the scan, identify and delete suspicious files flagged by the plugin. Be cautious with core WordPress files and directories like wp-admin, wp-includes, and wp-content. To restore infected core files:
- Download the latest version of WordPress from wordpress.org.
- Replace infected core files with fresh ones from the downloaded package.
- Avoid overwriting the
wp-contentfolder, as it contains your themes and plugins.
Step 5: Remove Malicious Code from Themes and Plugins
Malware often hides in theme or plugin files. Deactivate and delete any theme or plugin flagged as malicious. Only download themes and plugins from reputable sources to avoid future infections. If you’re unsure about a theme or plugin, consider reinstalling a clean version.
Step 6: Check and Secure Your Database
Malware can also hide in your WordPress database, especially in tables like wp_posts and wp_options. Use a plugin like WP-DBManager or phpMyAdmin to access your database and:
- Delete suspicious code or entries.
- Run SQL queries to detect and remove known threats.
- Optimize your database for better performance and security.
Step 7: Reset All Passwords and User Permissions
Hackers may have gained unauthorized access to your WordPress admin. Reset all passwords, including those for WordPress, your hosting account, and your database. It’s best to use strong, unique passwords for each account.
Also, review user permissions to ensure only trusted people have admin access to your site.
Step 8: Update WordPress, Themes, and Plugins
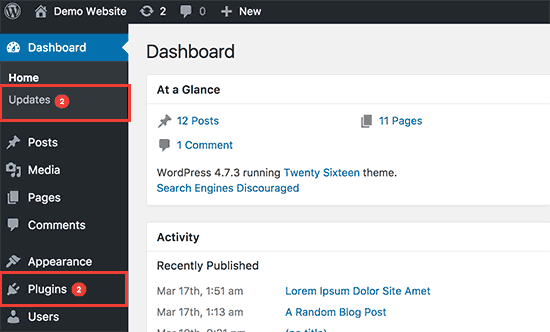
An outdated WordPress core, themes, or plugins can be an open door for malware. Update everything to the latest versions. Turn on automatic updates if available to prevent future vulnerabilities.
Step 9: Install a Web Application Firewall (WAF)
A Web Application Firewall (WAF) can block malicious traffic and prevent future infections. Many security plugins offer a WAF, including:
- Sucuri: Sucuri’s firewall blocks attacks and provides server-level protection.
- Cloudflare: Cloudflare offers a free WAF with its free plan, enhancing security and site speed.
Step 10: Schedule Regular Scans and Backups
Once your website is clean, create a routine maintenance plan to keep it safe. Schedule regular malware scans and backups. Many security plugins allow you to automate this process, so you don’t have to worry about manually running scans or backups.
Conclusion
Removing malware from a WordPress site can be challenging, but with the right steps and security practices, you can protect your website from threats. Follow these steps carefully to clean your website, and remember to strengthen your defenses to prevent future attacks.
Regular updates, strong passwords, and reliable security tools are your best allies in keeping your WordPress site safe and malware-free!